Goal and Background
This lab introduces students to some basic components of web maps. Students get an idea of what creating a simple web map from a "developer's" perspective is like and what its functionalities look like from a consumer user's point of view. It also introduces students to the creation of a story map which will be created using ArcGIS Online for Organizations.
A story map tour allows a user to take a "tour" of a specific geographic location by "walking through" a sequence of photos that are linked to a map.
There are three parts to building a story map via ArcGIS Online:
- Create and share a web map application template
- Creation of service for photographs and finalize story map
- Launch the application
Methods
Building a Story Map via ArcGIS Online
Create and share a web map application template
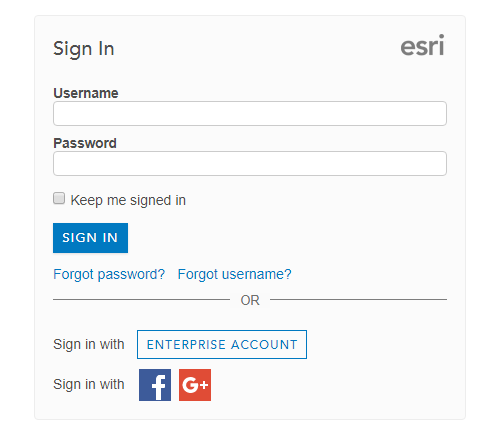
> Sign in to ArcGIS Online by first going to https://www.arcgis.com/home/index.html and clicking on 'Sign In' in the upper right corner (figure 1); click on 'Sign in with Enterprise Account' (figure 2); type in 'uwec' and click 'Continue' (figure 3); click on 'Using Your University of Wisconsin - Eau Claire Account' (figure 4); then log in using your UWEC user name and password and you will be directed to the home page.
 |
| Figure 1: 'Sign In' home page |
 |
| Figure 2: 'Enterprise Account' sign in |
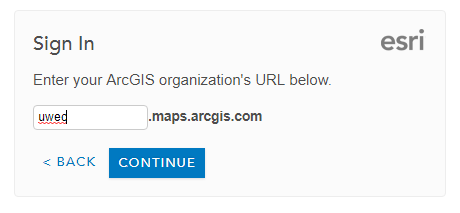 |
| Figure 3: UWEC sign in |
 |
| Figure 4: UWEC personal account sign in |
> Next, create a new web map by first clicking on 'Map' from the home page followed by 'Basemap' and then select 'Terrain with Labels' (figure 5).
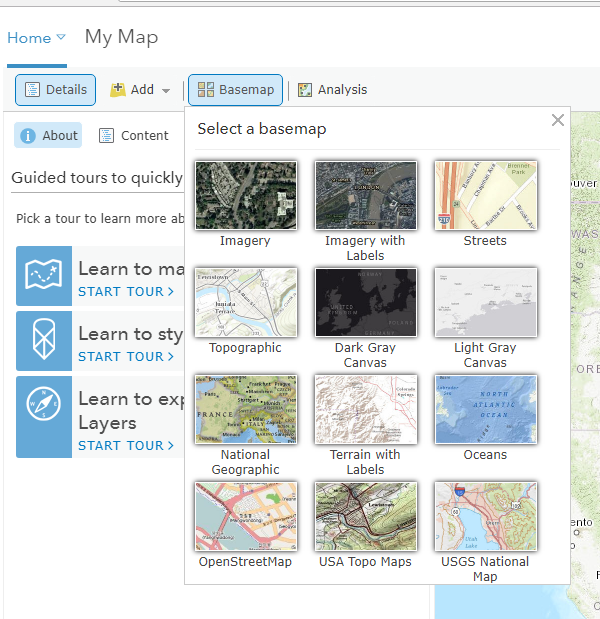 |
| Figure 5: Basemap selection |
> Zoom into Texas with Austin in the center of the map. Save the map and fill in the blanks with the following information (figure 6):
Title: Geog 368 Texas field trip_YourLastName
Tags: Field trip, Texas, Geography
Summary: Field activities carried out in Texas
 |
| Figure 6: Save map |
> Click on 'Save Map' to save it. Go to 'My Content' and find the map that was just created. Click on the Texas web map which will then bring you to the overview and other information about the map.
> Click on 'Create Web App > Using a Template' toward the upper right hand side. This will then reveal numerous application templates from which to choose. Select the 'Story Map Tour' from the gallery then click 'Create Web App' (figure 7).
 |
| Figure 7: Select web app template |
> The information entered in earlier when the map was initially saved automatically shows up. Type in a suitable summary then click on 'Done'. Next, the Map Tour Builder will pop up (figure 8).
Create and share a web map application template
> The Texas photos must now be uploaded to ArcGIS Online. Click on the 'ArcGIS' icon on the right side of the Map Tour Builder followed by clicking on 'Create the layer'.
 |
| Figure 8: Map Tour Builder window |
> After the service is created, the map will be visible on the right side of the screen with a blank section on the left side where the photos will be uploaded. Click 'Add' (figure 9) to bring up the 'Add a new tour point' window (figure 10). Photos for this map are located in the 'Lab1data' folder found on D2L. There are 10 photos in the 'StoryMapData' folder that will be uploaded to ArcGIS online to be used in the story map.
 |
| Figure 9: Add photo |
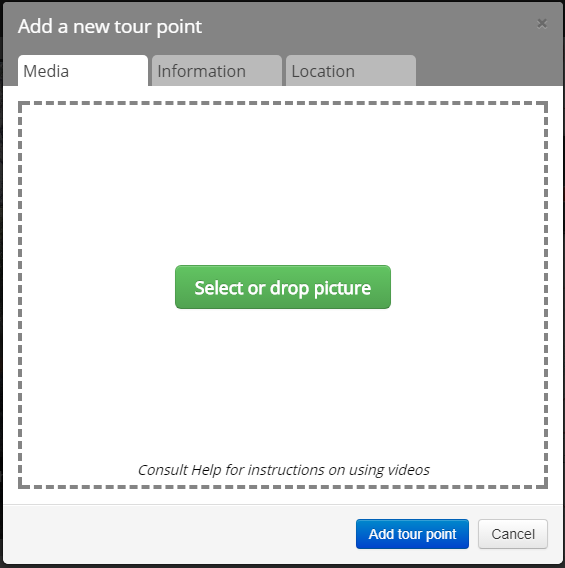 |
| Figure 10: 'Add a new tour point' window |
> Click on 'Select or drop picture' and locate the folder containing the Texas photos. Select 'Photo_1.jpg' which will now appear in the window (figure 11).
> Some information needs to be added in both the 'Information' and 'Location' tabs. Click on the 'Information' tab. Open the word document titled 'Photo information' in the 'Lab1data' folder. Type in the subsequent 'Name' and 'Caption' information.
> Next, click on the 'Location' tab. Since the photo was not geotagged in the field, the latitude and longitude will need to be entered manually. Enter the subsequent latitude and longitude in the 'Latitude' and 'Longitude' boxes (figure 12). Once this is entered, click 'Add tour point'. The photo is now added and the location appears on the map.
> Follow the same procedures for the remaining photos (photos 2-10). Once all photos have been added, the application should look similar to the one below (figure 13).
 |
| Figure 11: Window with added photo |
> Next, click on the 'Location' tab. Since the photo was not geotagged in the field, the latitude and longitude will need to be entered manually. Enter the subsequent latitude and longitude in the 'Latitude' and 'Longitude' boxes (figure 12). Once this is entered, click 'Add tour point'. The photo is now added and the location appears on the map.
 |
| Figure 12: Location tab |
> Follow the same procedures for the remaining photos (photos 2-10). Once all photos have been added, the application should look similar to the one below (figure 13).
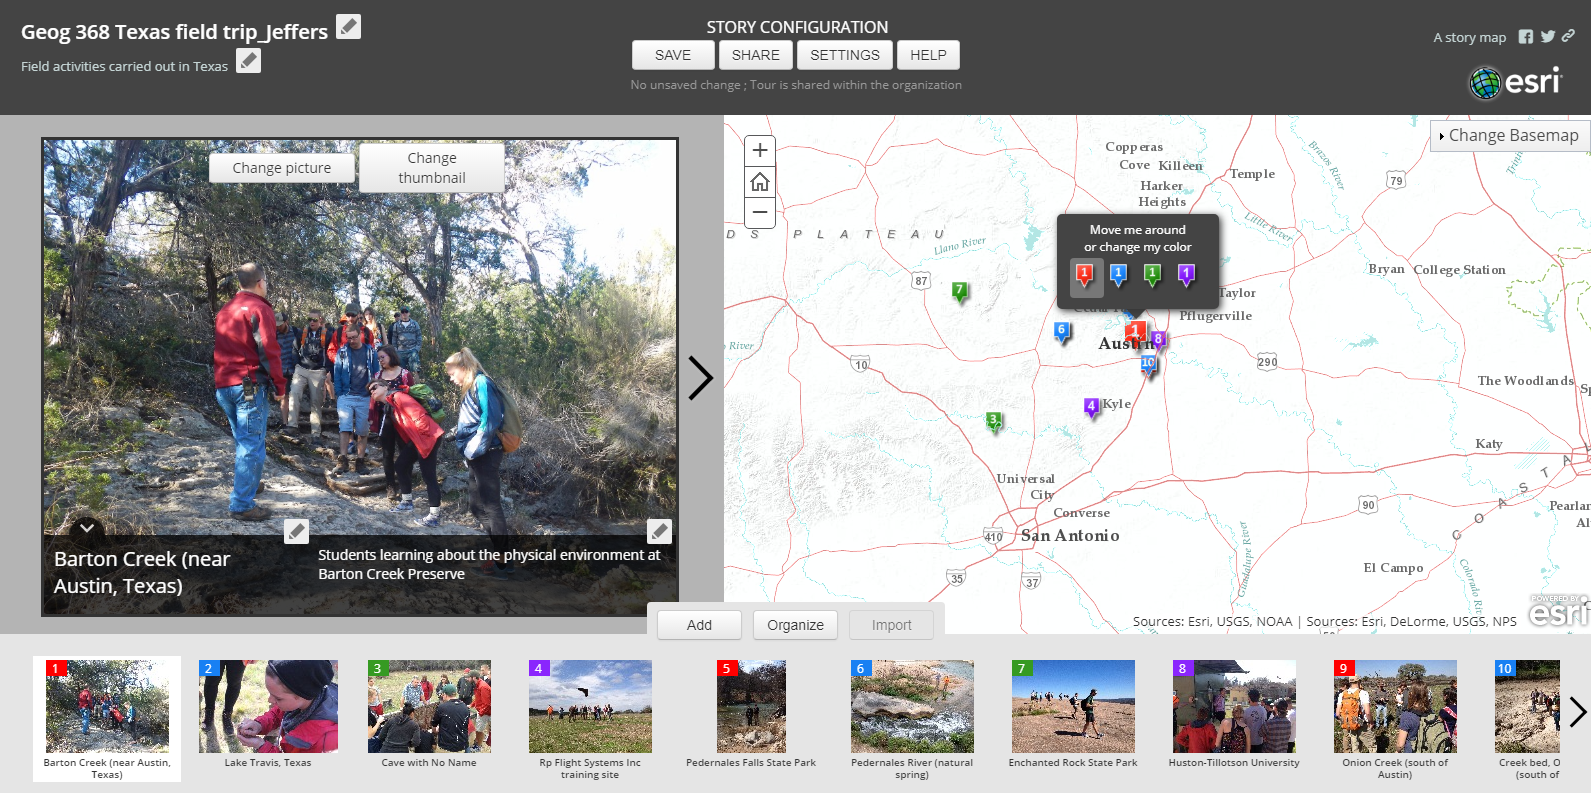 |
| Figure 13: Story map with all photos added |
Launch the application
> Click the 'Save' button at the top of the screen then click 'Share'. After the story map tour is shared, click 'Open' in the 'Share your Tour' window to launch the finalized tour.
Results
The final story map tour looks similar to figure 13 but does not feature the 'Application Configuration' buttons (figure 14). This tour can be found at the following URL:
http://arcg.is/2jDMNjr
The tour allows user to view the photos in a number of ways including:
Sources
ArcGIS Online: https://www.arcgis.com/home/index.html
Results
The final story map tour looks similar to figure 13 but does not feature the 'Application Configuration' buttons (figure 14). This tour can be found at the following URL:
http://arcg.is/2jDMNjr
 |
| Figure 14: Final story map tour |
The tour allows user to view the photos in a number of ways including:
- Clicking on the arrows that appear on either side or both sides of the large photo on the upper left hand side of the screen
- Clicking on any photo in the row of small photos on the bottom of the screen (these photos also show the number of the photo in the upper left corner)
- Clicking on the colored numbers on the map (numbers are associated with their respective photo)
When a photo is selected, the name and caption appears on the large photo itself, and a button appears in the upper right corner of the photo that allows the viewer to view a larger version of the photo by itself. The name also appears above the associated photo number located on the map. Overall, viewers can easily navigate photos of the tour from start to finish or jump around from photo to photo.
On the map, users can zoom in and out to get a good sense of where exactly the tour is located and gather a good understanding of the distances between photo locations and where they appear in respect to each other.
Sources
ArcGIS Online: https://www.arcgis.com/home/index.html